Assembly Guides

Whether you are setting up a new farm or expanding an existing one, our assembly resources make installation straightforward and consistent across every basket size in the Pro-Series range.

Follow these simple steps to correctly assemble and install your Hexcyl Pro system

Step 1

Prepare Components

Unpack the basket body halves, end doors and suspension clips ensuring all parts are present and free from damage before assembly. (Please note 3mm mesh baskets will have additional blanking plugs included.)

Prepare Components
Join Basket Halves Image
Step 2

Join Basket Halves

Align the locating tabs with the slots on the opposite two basket halves and slide through until each of the tabs are seated. Press the side rib to ensure the tabs sit proud of the slot.

Step 3

Install the Door

Orientate the end door in the full 180 degree open position so the hook feature on the end door aligns above the axle features located at the end of the assembled basket body. With the end door in the open position push the hook feature down over the axle and rotate the end door 180 degrees into the closed position. Push down with the heel of your palm on the back of both door latches to ‘click’ into place ensuring the door catches are engaged shut.

Install the Door
Install the Door Image
Attach Clip-Lock System
Step 4

Attach Suspension Clips

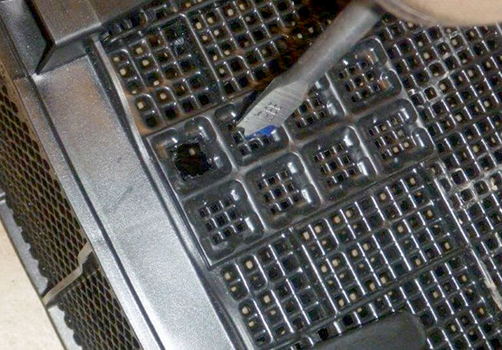
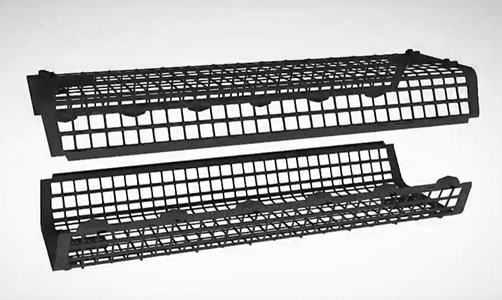
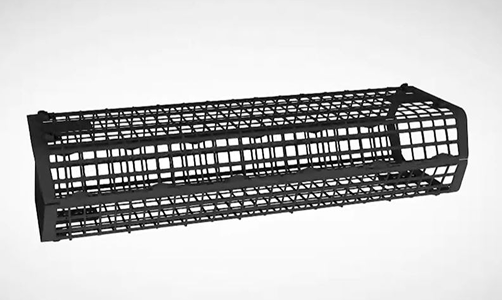
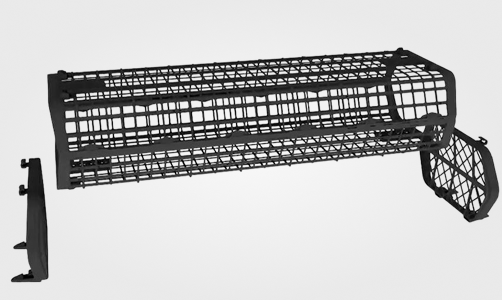
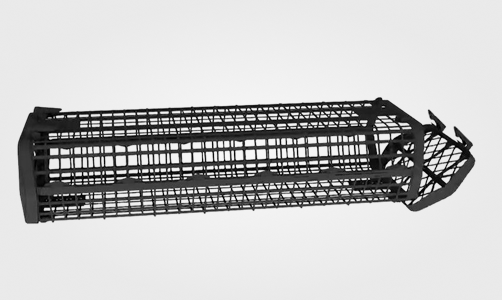
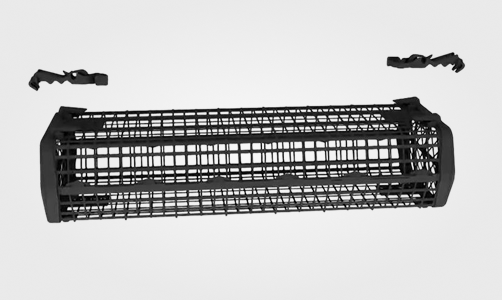
Ensure that suspension clip is fitted to the top side of the basket showing the end door catches. Orientate the suspension clip parallel along the basket body with the J-hook feature facing down in your desired position over the square axle pivot bank.The C-grip feature should now be pointing toward the opposing end of the basket. Ensure the suspension clip is in the horizontal position, insert the tip of the J-hooks into the square holes of the pivot bank and slightly push down on the J-hooks as you rotate the C-grip upward into the 90 degree upright operating position. Both J-hooks should ride in together for correct attachment. Lay the suspension clip down flat against the body for storage and transportation.

Step 5

Attach to Longline

Secure the basket along one line or across two lines approximately 600 mm to 750 mm apart, ensuring proper alignment and stability.

Check Line Tension
Step 6

Check Line Tension

For Hexcyl longlines, apply approximately 3-4% line tension to achieve the correct setup and optimal basket and suspension clip performance. Also swap to the Line Tension image provided.

Step 7

Final Check

Ensure the suspension clips are locked in the upright operating position when attaching to the lines and check that the lines are adjusted to the desired growing heights.

Final Safety Check